Top Tips for a Smooth Client Review Process
Written by Cleanpix Graphics
In recent years 3d rendering technology has become an indispensible tool for creating photo realistic representations of proposed design concepts, allowing investors, clients and consumers to get an accurate representation of the finished product.
Access to 3d rendering services has become widespread and affordable for all manner of businesses and individuals, from creative studios and product designers to architecture practices and property developers.
3d visualisations and animations are proving to be an especially popular marketing resource within the building design and real estate marketing industries. Property developers and real estate agents have an amazing opportunity to offer a life-like glimpse of their proposed building designs to prospective buyers months or even years before construction of the project is complete.
For these in the industry who are new to using architectural 3d rendering services, there are a number of points to consider to help ensure a smooth and trouble-free process, resulting in faster delivery of the finished artwork while avoiding unnecessary costs.
As with any other design process, the quality of the final 3d visualisations is often dependant on how closely the client works with their chosen 3d rendering studio. Good quality feedback is important and clear communication is vital.
Supply a clear brief
Once you’ve engaged an artist or studio to work on your 3d renders project, it is always a good idea to supply a summary or ‘brief’ for the visual style direction that needs to be followed. The artist should already have some idea of the approximate view angles required and the building design from the quotation stage but it helps to make further refinements to your brief before they get started on the 3d model.
There are a number of things you can do to assist the artist in achieving the desired final result in a shorter time frame.
- Ensure you supply as much project documentation as possible. Aside from the most vital architectural CAD files i.e. floor plans, elevations and materials schedules, try to also include (if available) cross sections, landscape, joinery and electrical drawings. Supplying fixtures and fittings schedules will also be helpful for interior renders.
For a comprehensive checklist, please visit our downloads section. - If you have a specific idea for the look and feel you’d like to see in the final artwork, include a description with your brief. Let the artist know if you prefer a day or dusk lighting set up and whether you’d like to see internal lighting turned on or off.
Supplying reference images for the desired 'look and feel' for the artwork can really help to put the project on the right track.
For inspiration, going through your chosen studio's galleries of completed work is an excellent start for finding something you like. Alternatively, sourcing images online of other people’s 3d renders or real estate photos can also be a useful exercise. - If you would like to see specific planting, furniture and styling accessories shown in the images or an overall furnishing style (e.g. minimal Scandinavian look or contemporary luxury theme etc.), include this requirement in your brief. Try to supply as much visual reference as possible to illustrate what you’re after.
Appoint a single point of contact
It’s always best to nominate and maintain a single point of contact at the client end with your 3d renderer. When the 3d artist starts receiving feedback and revision requests from more than one person, this can quickly lead to miscommunication and conflicting instructions.
Of course with larger property development projects it is unavoidable that there will be several stakeholders involved in approving the final artwork. In the event that multiple people are reviewing the draft image submissions, it is vital that all feedback is collated via the contact person in a combined mark-up set.
All parties need to be aware of the direction of the project and the changes that need to be implemented by the 3d renderer.
Don't rush the review and feedback
One of the most frequent mistakes made by clients takes place after they start receiving progress submission images from the 3d artist for review and feedback. Many clients have busy schedules and consequently they may be tempted to multitask and supply a few quick feedback comments in between meetings or while on lunch break.
Whenever possible this should be avoided as invariably some comments and revision requests will be omitted and may require additional re-rendering and re-proofing to rectify at a later stage, pushing back delivery dates and incurring extra fees.
Upon receipt of progress images from the 3d artist, clients need to check and provide feedback on some of the following points:
- Confirm that you are happy with the camera composition view angle. Some 3d studios may offer several view options for each 3d render and the client will need to indicate their preferred selection.
- Check all the architectural details are as per the submitted drawings and all the dimensions look correct. It may be necessary to consult the architect to confirm that all details are correct.
- Make sure that all colours and materials applied to the 3d model in the renders appear close to the real life samples. If you have supplier swatches it’s a good idea to do side by side comparisons.
- For interior 3d renders, verify that all tapware, appliances, electrical fittings and bathroom fixtures are included and appear as per the selected inclusions.
- Check the plant species shown in the exterior renders and the furniture and styling accessories in the interior renders.
For additional details on providing clear and effective feedback comments, please read our article on avoiding 3d rendering cost overruns.
Provide clear and precise feedback
A PDF mark-up is usually a reliable way of annotating any part of the image/s that need to be revised. This can be done by using the built-in PDF viewer commenting tools or simply printing the draft submission, marking them up by hand and rescanning back to a PDF format.
If you’re supplying a mark-up with pen and paper, make sure that your handwriting is clear and legible.

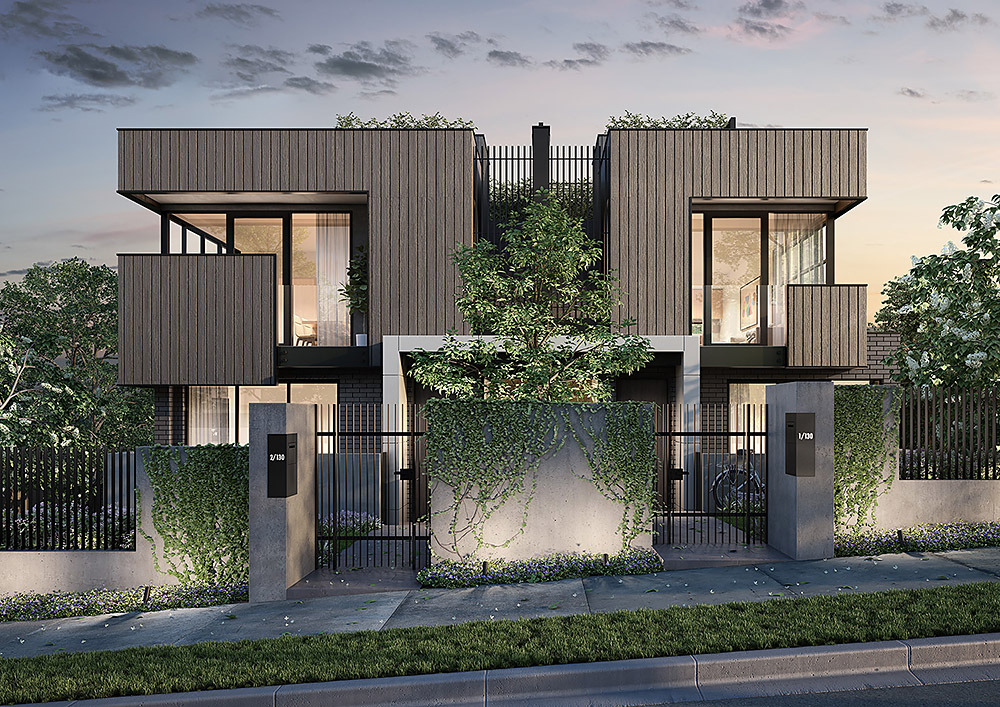
Above: Draft proof of an exterior 3d render with mark-up comments from the client, indicating required changes to the image.
When commenting on any parts of the image that requires some tweaks, be precise with your instructions. Highlighting an element like a tree or a piece of furniture and stating ‘I don’t like it’ or ‘change to something more luxury’ is too vague. You need to let the 3d artist know exactly what you’d like to see by supplying more precise specifications, additional drawings or reference images. The aim of the game is to eliminate as much guess work as possible.
So remember... great feedback and communication at every stage ensures the 3d rendering process proceeds smoothly, saves time and unnecessary fees and results in amazing looking visuals to help you market your latest project.


Cleanpix Graphics | Services | Prices | FAQ | Downloads | Blog | Contact | Interior 3d Renders | Exterior 3d Renders | 3d Floorplan Renders